


Every top model, with tools built in.
Search the web, run deep research, read files, create images and run code with GPT, Claude, Gemini, Grok and more.
Level up your results with 8 AI Image Generation Tips: smarter prompts, model picks, quick fixes, and consistent style you can use today.
You type a prompt, hit generate, and get something that's almost right but somehow wrong. The hands look suspicious, the lighting is flat, and the background belongs in an old stock photo library. Meanwhile, the actual job is still waiting: a product banner, a blog header, or a presentation slide you need to finish today.
The fix usually isn't another handful of words like stunning, beautiful, and ultra-detailed. You need clearer decisions about the subject, frame, model, and parts worth fixing. A gorgeous image that leaves no room for your headline is still the wrong image.
These AI image generation tips cover the whole workflow, from writing a useful brief to editing the result and keeping a project visually consistent. You can try them with a real assignment rather than generating another astronaut riding another horse. That horse has worked enough.
Keep your current image open while you read. Choose the biggest problem first: unclear composition, poor instruction-following, an awkward background, or inconsistent style. Fix that problem deliberately, compare the result, and keep the wording that helped. You don't need a magical prompt. You need a process you can repeat.
A prompt such as cool dragon leaves almost every creative decision unresolved. Is the dragon a friendly character for vocabulary cards or a threatening silhouette above a mountain? Decide before you generate.
Zemith's Prompt Gallery provides starting points you can adapt, while the Library lets you organize useful prompts and related chats. Use the AI image prompt library guide to build a reusable structure rather than collecting disconnected strings of adjectives.
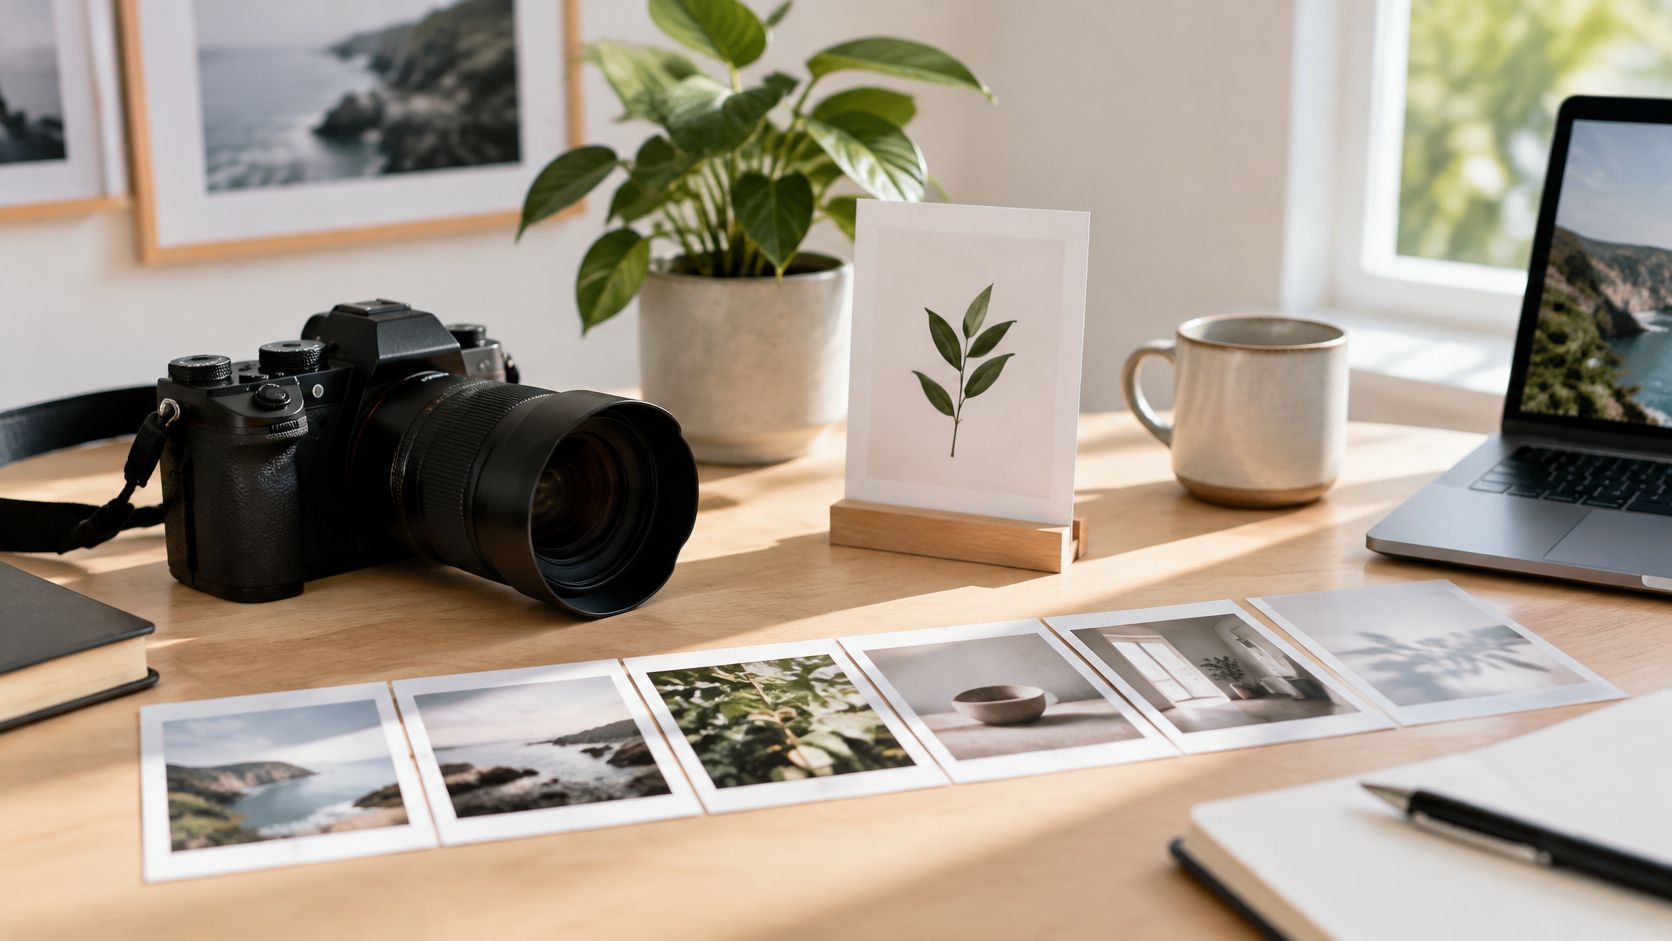
Write the subject first, followed by the setting, composition, lighting, and visual treatment. For a seasonal coffee banner, try this template:
Matte black coffee grinder on a walnut counter, positioned on the right with open space on the left, warm window light, close-up product photography, muted autumn palette.
That's useful because each phrase controls a visible decision. In Adobe's survey of 1,041 respondents, 77% of highly skilled prompters said descriptive keywords were the most effective prompting technique. Treat that as support for specificity, not an invitation to write a novel.
For illustrated vocabulary cards, preserve the background, framing, and illustration language while changing the noun. You're building a set, not auditioning a new art director for every card.
The best-looking preview isn't necessarily the best model for your assignment. A beautiful bottle with the wrong cap, material, or proportions can be useless for a product mockup.
Compare Flux, Stable Diffusion, and Imagen using the same brief, then judge the outputs against the actual job. The image-generation model comparison guide provides a starting point for that decision, but your own subject should be the test.
Say you're creating a skincare product header. Keep the prompt, frame, and required materials consistent across models, then evaluate:
Prompt length also changes the comparison. A text-to-image benchmark found that Stable Diffusion 3.5 and PixArt-Sigma were sensitive to prompt length, while other evaluated models were comparatively robust. Don't assume your longest prompt gives every model its fairest test.
Start with a compact version, then add constraints where needed. If a model ignores spatial instructions, simplify the scene and describe relationships explicitly: the cup sits in front of the book, not merely near it.
Keep a simple record of model, prompt, result, and editing needed. Don't marry the first model you try. You're choosing a tool, not arranging a wedding.
You know the look you want, but soft, expensive, slightly nostalgic isn't getting you there. A reference image can translate that instinct into decisions you can control.
Use the image-to-prompt workflow to extract descriptive language, then edit that output into your own brief. What you want from it is a working vocabulary for lighting, framing, materials, and mood. Treat it as raw material to reshape, never as a promise that the model will reproduce the reference.
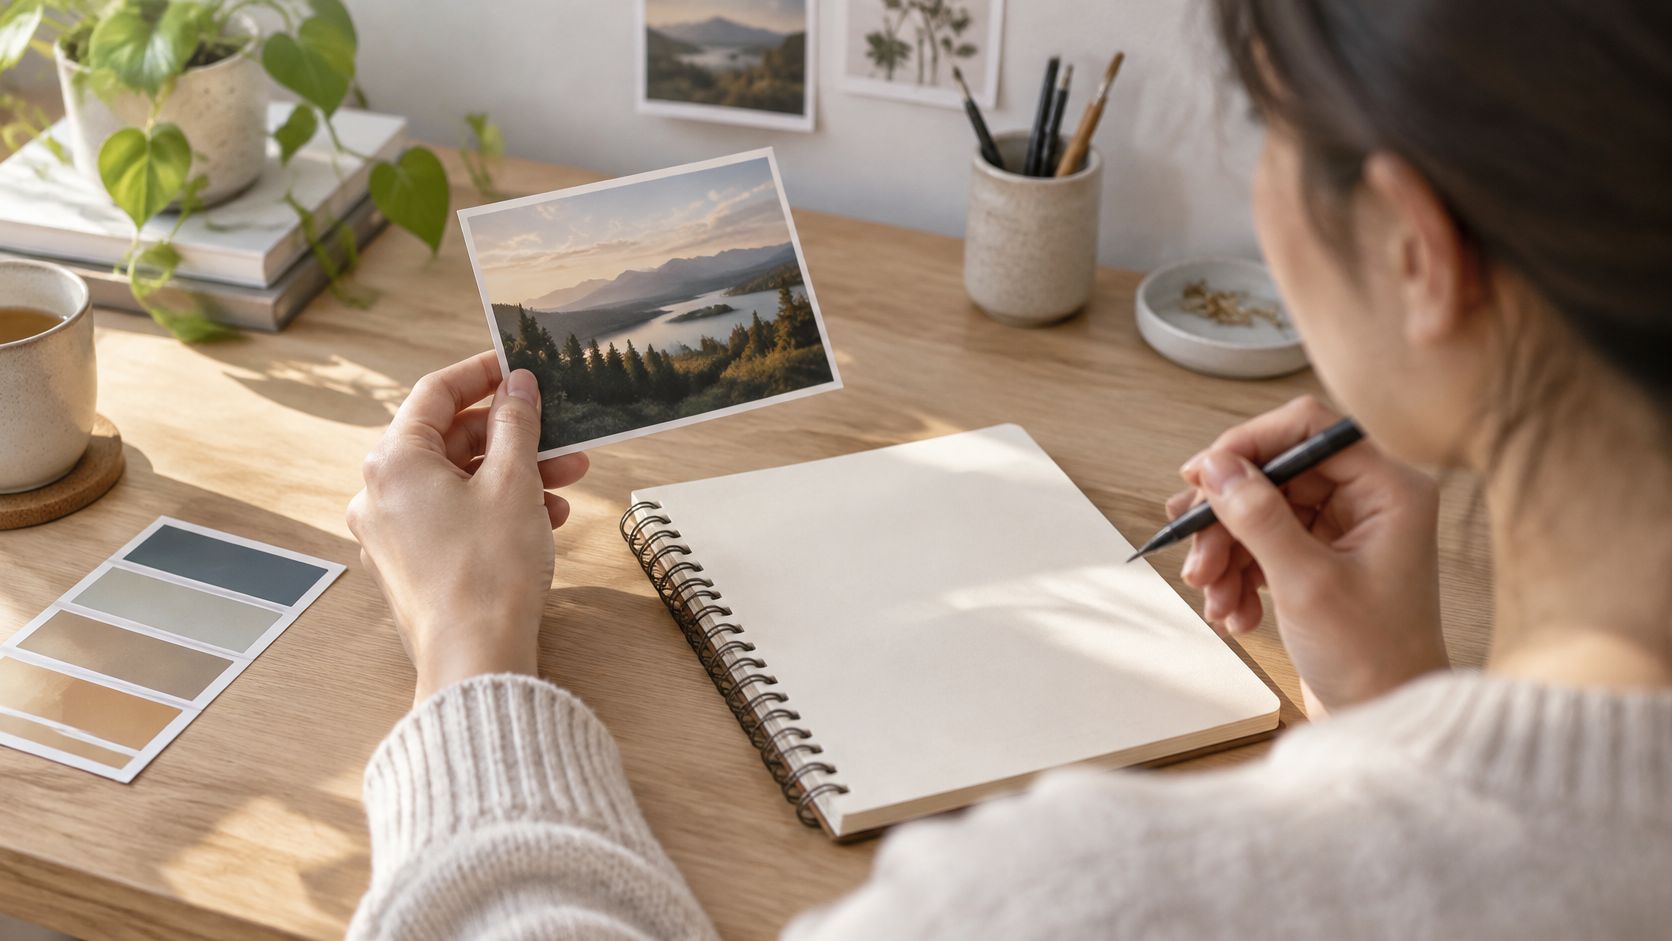
Suppose a marketing team likes a neutral lifestyle photograph. Pull out the window-side lighting, waist-height viewpoint, muted background, and off-center subject. Remove recognizable packaging, logos, people's identities, and any detail that doesn't belong in your campaign. What survives that filtering is the part worth prompting for.
Practical rule: Describe what makes the reference useful before asking a model to recreate its atmosphere.
One clear reference beats a crowded collage. If you need separate references for composition and texture, label their roles so the generator isn't guessing which elements to blend and which to ignore.
For a student improving an instructional diagram, let the reference guide the layout while the course material supplies the facts. Check every label and relationship before publishing the replacement.
Finally, delete any analysis that's merely plausible. If a generated description invents a camera lens or a material you never asked about, cut it. Reference analysis works as a drafting assistant, and it only earns its place when the output is useful to your next prompt.
Keep the image with the excellent subject and the terrible background. Regenerating everything can replace the part you liked while giving you an entirely new problem.
Use local editing when the defect is local. The background-removal guide explains the isolation step; the production decision is whether to remove, replace, or regenerate.
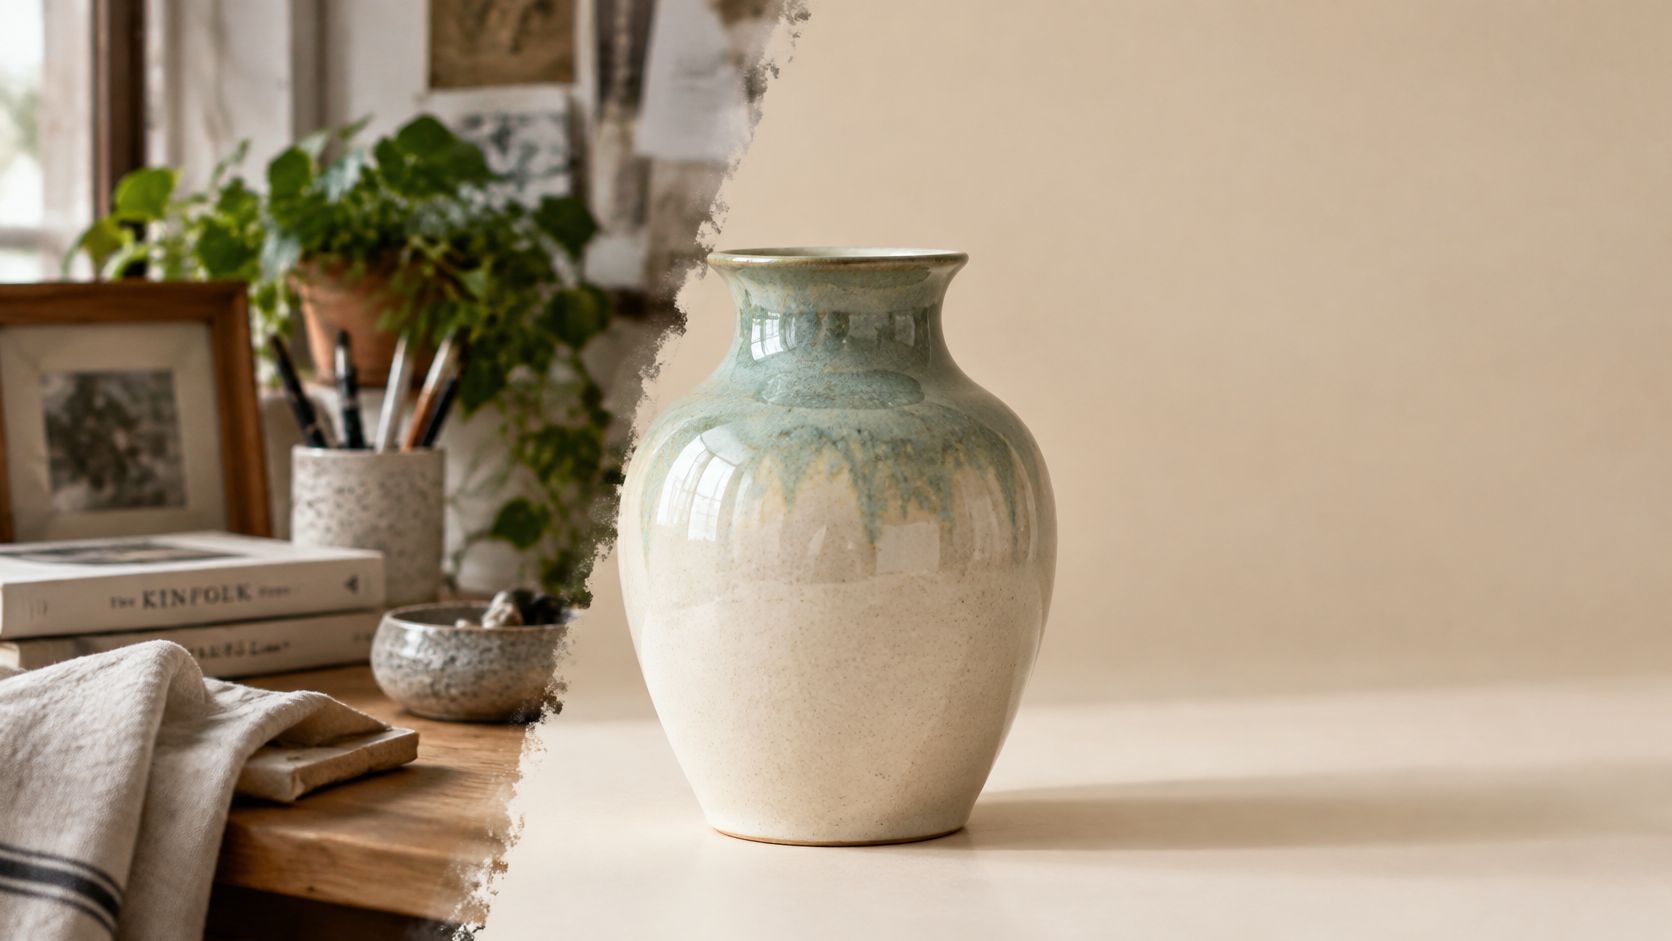
For an e-commerce image, isolate the product and replace a cluttered kitchen with a studio gradient. Keep the original untouched so you can compare edges, color, and product shape after editing.
Inspect contact shadows closely. A grounded product needs a believable relationship with the surface beneath it, not just a clean cutout floating over beige.
Look for halos around hair, handles, glass, and reflective edges. Review the image at its intended display size as well as enlarged; a technically tidy edit can still feel wrong in the final layout.
There's also a practical boundary: don't edit documentary material in a way that changes what viewers understand happened. Removing clutter from a promotional composition is different from removing evidence from a factual photograph. The edit should serve the brief without misleading the audience.
A campaign can contain attractive images and still look like unrelated work. Usually, the problem is that nobody preserved the decisions behind the first approved image.
Create a compact visual specification and keep it beside approved prompts, reference descriptions, and model notes. The knowledge-base workflow is useful for organizing that material so collaborators don't have to reconstruct your intentions from a folder of exports.
For a newsletter illustration series, friendly editorial style isn't enough. Specify the background treatment, palette, shape language, subject scale, and whether outlines or textures belong.
Separate fixed rules from flexible details. The background and illustration treatment might stay fixed while the subject changes with each article.
Consistency also needs an approved reference image, not just written instructions. Compare new generations with it before spending time polishing them. If the model or settings change, test whether the new output still belongs in the set.
Keep this specification useful beyond still images. If you later turn a landing page into branded video, the same palette, framing, and visual restrictions can guide the motion work.
A short style guide that people use beats a grand document nobody opens. The napkin version is acceptable. The napkin should probably be backed up.
Sometimes the prompt isn't the problem. You haven't decided what the picture should communicate yet.
Use a live voice conversation to talk through the audience, emotion, and message before describing objects. Then sketch the layout on a whiteboard. This is especially useful for a launch campaign where every image needs a distinct purpose.
Say you're planning visuals for a productivity app. You might describe the feeling as calm control rather than frantic efficiency. That distinction suggests open space, restrained props, and a clear focal point instead of a desk buried under clocks.
On the whiteboard, mark:
Choose the frame before finalizing that sketch. Google's Imagen documentation supports formats including 1:1, 16:9, and 9:16, so a square post, presentation image, and vertical ad shouldn't automatically share the same composition.
A crop is an editing decision, not a rescue plan for a composition that never fit.
After brainstorming, ask the assistant to turn the notes into alternative concepts, not merely synonymous prompts. Compare an object-led scene with a human-centered scene or a diagrammatic treatment.
Talking through a picture can feel awkward. It's still less awkward than explaining why your carefully generated subject disappears behind the headline.
A prompt describes an image. A brief explains what that image needs to accomplish. Confusing them produces attractive work that misses the assignment.
Use an AI notepad to organize rough ideas, and a document assistant to extract visual requirements from campaign materials. Check the summary against the original documents, especially mandatory wording, accessibility requirements, and restrictions.
For a blog header aimed at software engineers, the brief might call for a clear visual metaphor, room for a headline, restrained color, and no fake interface labels. That gives you a better foundation than asking for a futuristic technology image.
Capture the essentials:
Review representation as part of the brief, not after approval. An ACM study on prompt modification reported increased image diversity and reduced bias, while noting remaining limitations in disability representation. More elaborate wording doesn't remove the need for human review.
For an illustration of an accessible workplace, specify the intended setting and relevant assistive equipment without turning disability into decorative shorthand. Check whether equipment, posture, and interactions make sense.
Keep critical labels editable outside the generated image whenever practical. Verify technical symbols, anatomy, and factual relationships against reliable material. A polished diagram with an incorrect arrow is still an incorrect diagram, just better dressed.
When you search for how to improve AI image results step by step, the useful answer is usually less glamorous than a secret prompt formula: compare, diagnose, change, repeat.
Google's image-generation guidance recommends starting with the core idea, then refining it with subject, context, and style details. Treat each revision as a deliberate test rather than a complete rewrite.
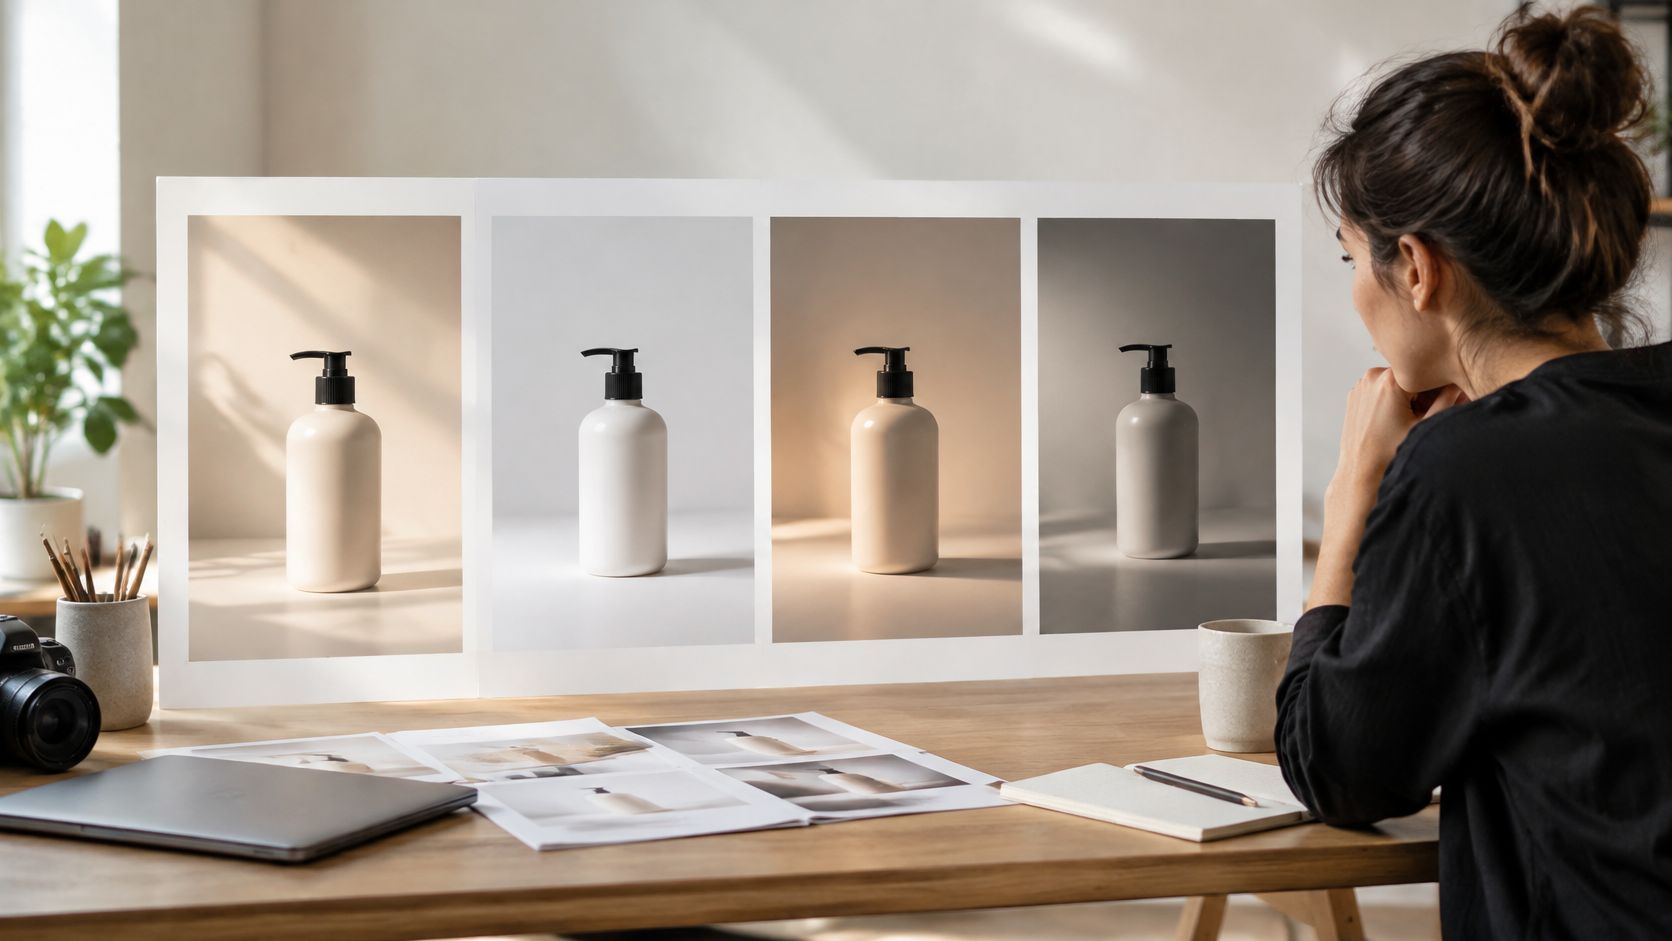
Suppose a cosmetic bottle looks accurate but blends into its background. Preserve the subject and framing, then test background contrast before changing the lighting, angle, and palette together.
Use negative prompts where the model supports them, but keep exclusions relevant. Cluttered background or unwanted watermark may be useful exclusions; a sprawling list of unrelated defects won't substitute for a clear positive description.
A negative instruction also isn't a guarantee. Inspect fingers, edges, text, reflections, and object relationships yourself.
Stop rule: Once the image meets the brief and the remaining defect is local, edit it instead of restarting.
Finish with a publication review, not just an aesthetic vote. Preserve available provenance metadata, disclose synthetic elements when relevant, and don't present generated scenes as factual evidence. Realism makes that distinction more important, not less.
You don't need to master every technique before your next assignment. Pick the problem that's costing you the most time and build a repeatable fix around it. If compositions keep failing, start with the brief and frame; if attractive images keep drifting off-brand, start with the style specification.
For a practical trial, choose a real asset you already need. Write down its audience, placement, message, required subject, and exclusions. Then turn those decisions into a compact shot-list prompt, leaving room for the actual layout rather than hoping a later crop will work.
Compare models using the same task, not unrelated showcase images. Choose the result that follows the brief and needs manageable editing, even if another output looks more dramatic at first glance. A usable product image beats a spectacular almost-product.
Keep the successful prompt, model details, reference description, and approved output together. For the next asset, change only what the assignment requires. That gives you a recognizable visual system without forcing every image to look identical.
Before export, ask a colleague to inspect the image without explaining what it's supposed to show. If they misunderstand the subject or message, revise the image or its surrounding context. Your audience won't have access to the prompt either.
The most useful AI image generation tips are the ones you can repeat under deadline. Clear briefs, controlled comparisons, local repairs, and saved style decisions make the work easier to manage. They also help you recognize when the picture is finished, which is a surprisingly valuable creative skill.
Start with the image currently giving you trouble. Fix its biggest mismatch, compare the result, and save what worked. You'll have a stronger asset and a better starting point for the next job.
Zemith brings image generation, image-to-prompt analysis, background removal, and object replacement into one workspace. Visit Zemith to turn a real brief into a prompt, compare outputs, and refine the strongest image without rebuilding your workflow across separate apps.
Creative Studio also covers background removal, upscaling, image editing and short video, all drawn from the same credit allowance as chat. Nano Banana Pro starts at 25,300 credits an image, and the studio shows the exact quote before you generate.
Free $0 (chat with the free models) · Plus $15.99/month · Professional $29.99/month. Prices in USD.
Pay less than one AI subscription and get GPT, Claude, Gemini and more, plus 50+ AI tools.


Trusted by teams at

The top models, plus image, video and voice tools, in one plan.
Without Zemith
ChatGPT PlusUS$20.00Claude ProUS$20.00Google AI ProUS$19.99SuperGrokUS$30.00Perplexity ProUS$20.00 MidjourneyUS$10.00
 ElevenLabsUS$6.00Le Chat ProUS$14.99
 RunwayUS$15.00Kling StandardUS$8.80
 Gamma PlusUS$12.00
 Otter ProUS$16.99
 QuillBot PremiumUS$19.95
 Photoroom ProUS$12.99
 Quizlet PlusUS$7.99
Total if paying separatelyUS$234.70/mo
"I love the way multiple tools they integrated in one platform. Going in the right direction."
— simplyzubair
"The quality of data and sheer speed of responses is outstanding. I use this app every day."
— barefootmedicine
"The credit system is fair, models are perfect, and the discord is very responsive. Quite awesome."
— MarianZ
"Just works. Simple to use and great for working with documents. Money well spent."
— yerch82
"The organization of features is better than all the other sites — even better than ChatGPT."
— sumore
"It lives up to the all-in-one claim. All the necessary functions with a well-designed, easy UI."
— AlphaLeaf
"The team clearly puts their heart and soul into this platform. Really solid extra functionality."
— SlothMachine
"Updates made almost daily, feedback is incredibly fast. Just look at the changelogs — consistency."
— reu0691
Hand off the research, writing, design and follow-ups. Zemith picks the tools it needs and brings back finished work.
Search the web, run deep research, read files, create images and run code with GPT, Claude, Gemini, Grok and more.
Zemith keeps working in the cloud and pings you when it's done.
Notion, Linear, Canva, Airtable and more. It asks before it creates or changes anything.
Docs, slides, sheets and PDFs, ready to send.
Chain models and tools on a visual canvas, from one prompt to a finished promo video.
Briefings, reports and reminders run on a schedule and are ready when you need them.
Real-time voice that can see your camera or screen.
The best image and video models, in one studio.
Turn PDFs, links and YouTube videos into podcasts, quizzes, flashcards and mind maps.











 Podcast
 Quiz
 Flashcards
 Mind map
 Infographic